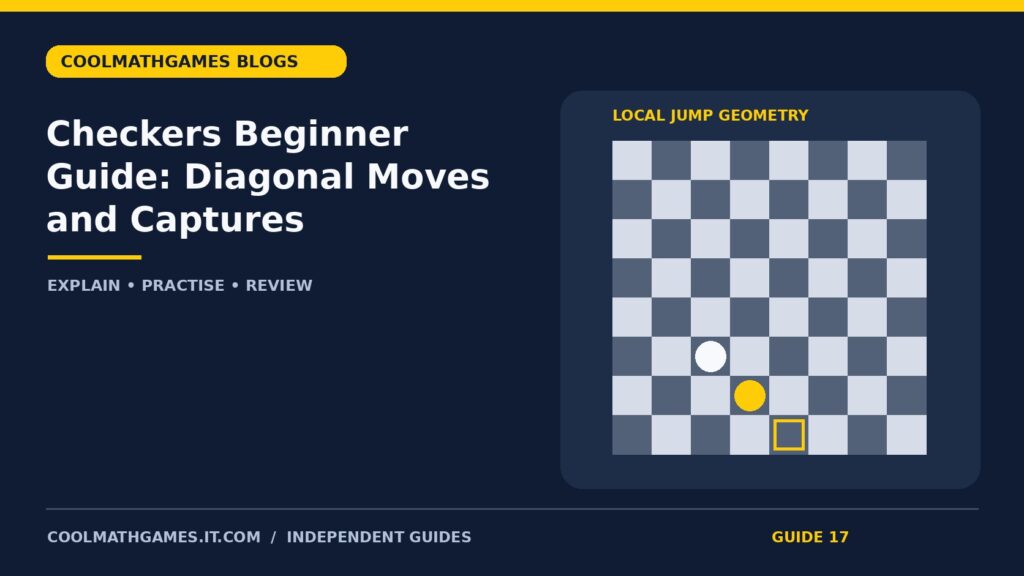
For readers practising checkers on Cool Math Games, this independent guide focuses on checkers beginner guide. The exercises state their local movement model explicitly, so check your game’s variant before applying a pattern.
Checkers looks simple because the pieces begin alike. The decisions become more interesting when you consider the landing square after a jump and the reply that landing allows.
A practical starting point
Start by confirming the rules of the version you are using. Variants can differ about compulsory captures, backward captures by men and promotion. The local exercises below explicitly state their movement assumptions.
State the variant before the exercise
The exercises use an eight-by-eight board, forward-moving ordinary men and short-range kings. A capture crosses an adjacent opposing piece and finishes on the empty square immediately beyond it. These assumptions make the geometry explicit. They do not establish every rule of every draughts variant, including whether a particular interface requires a jump when another capture exists. Before transferring a pattern to live play, check the version’s rules and all the pieces that could affect the move.
A mistake to watch for
A jump needs an opposing piece on the adjacent diagonal and an empty landing beyond it. Seeing a nearby opponent is not enough. Check the destination before calling a capture legal.
Worked examples and practice decisions
Try each question before reading its explanation. These examples are deliberately limited to the information they state. They separate a rule or calculation from a broader judgement about a complete game.
1. Diagonal exercise 1: identify the landing
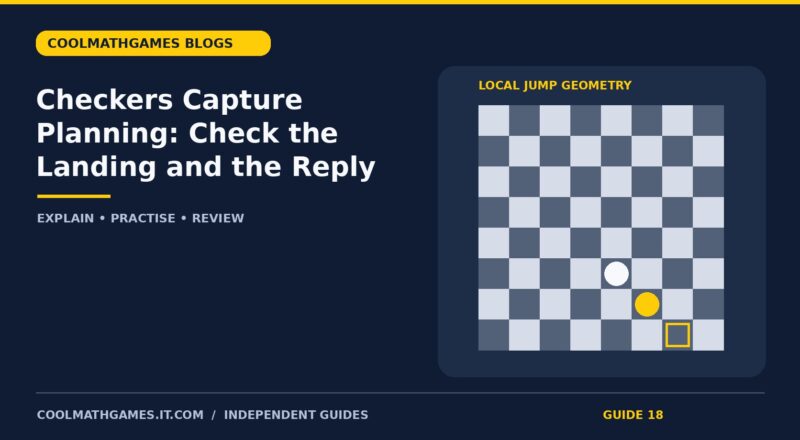
Use an eight-by-eight coordinate sketch. A ordinary man moving toward larger row numbers starts at row 6, column 3. An opposing piece occupies row 7, column 4. The square at row 8, column 5 is empty. No other local piece blocks the two-step diagonal.
The proposed jump goes toward larger row numbers and lands at row 8, column 5, removing the opposing piece it crosses. Each step changes the row and column by one, so the route stays on the same colour of square. Read the two diagonal steps separately. The first reaches the occupied opposing square; the second reaches the required empty landing. Moving onto the occupied square is not the jump described by this model.
Countercheck: the stated landing is row 8, column 5. Imagine that square were occupied before the jump. The illustrated capture would no longer have the required empty destination. Now imagine removing the crossed opponent instead: that would also remove this particular jump. These changes show why the start, crossed piece and landing are three separate conditions.
2. Diagonal exercise 2: identify the landing
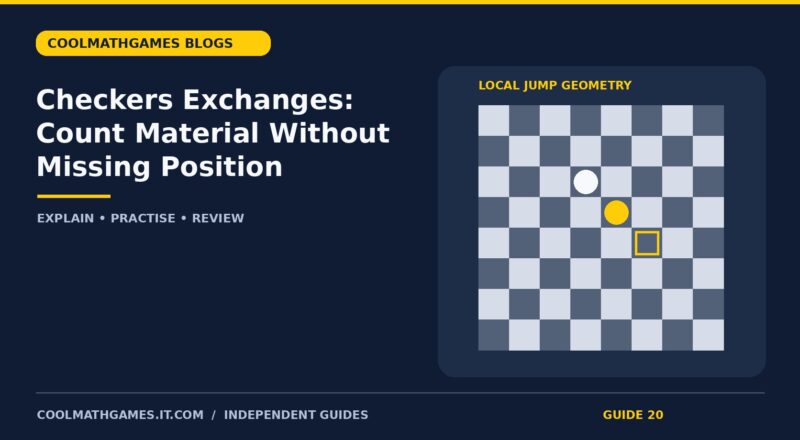
Use an eight-by-eight coordinate sketch. A ordinary man moving toward larger row numbers starts at row 3, column 6. An opposing piece occupies row 4, column 5. The square at row 5, column 4 is empty. No other local piece blocks the two-step diagonal.
The proposed jump goes toward larger row numbers and lands at row 5, column 4, removing the opposing piece it crosses. Each step changes the row and column by one, so the route stays on the same colour of square. Read the two diagonal steps separately. The first reaches the occupied opposing square; the second reaches the required empty landing. Moving onto the occupied square is not the jump described by this model.
Countercheck: the stated landing is row 5, column 4. Imagine that square were occupied before the jump. The illustrated capture would no longer have the required empty destination. Now imagine removing the crossed opponent instead: that would also remove this particular jump. These changes show why the start, crossed piece and landing are three separate conditions.
3. Diagonal exercise 3: identify the landing
Use an eight-by-eight coordinate sketch. A ordinary man moving toward larger row numbers starts at row 3, column 4. An opposing piece occupies row 4, column 5. The square at row 5, column 6 is empty. No other local piece blocks the two-step diagonal.
The proposed jump goes toward larger row numbers and lands at row 5, column 6, removing the opposing piece it crosses. Each step changes the row and column by one, so the route stays on the same colour of square. Read the two diagonal steps separately. The first reaches the occupied opposing square; the second reaches the required empty landing. Moving onto the occupied square is not the jump described by this model.
Countercheck: the stated landing is row 5, column 6. Imagine that square were occupied before the jump. The illustrated capture would no longer have the required empty destination. Now imagine removing the crossed opponent instead: that would also remove this particular jump. These changes show why the start, crossed piece and landing are three separate conditions.
4. Diagonal exercise 4: identify the landing
Use an eight-by-eight coordinate sketch. A ordinary man moving toward larger row numbers starts at row 5, column 4. An opposing piece occupies row 6, column 5. The square at row 7, column 6 is empty. No other local piece blocks the two-step diagonal.
The proposed jump goes toward larger row numbers and lands at row 7, column 6, removing the opposing piece it crosses. Each step changes the row and column by one, so the route stays on the same colour of square. Read the two diagonal steps separately. The first reaches the occupied opposing square; the second reaches the required empty landing. Moving onto the occupied square is not the jump described by this model.
Countercheck: the stated landing is row 7, column 6. Imagine that square were occupied before the jump. The illustrated capture would no longer have the required empty destination. Now imagine removing the crossed opponent instead: that would also remove this particular jump. These changes show why the start, crossed piece and landing are three separate conditions.
5. Diagonal exercise 5: identify the landing
Use an eight-by-eight coordinate sketch. A ordinary man moving toward larger row numbers starts at row 4, column 3. An opposing piece occupies row 5, column 2. The square at row 6, column 1 is empty. No other local piece blocks the two-step diagonal.
The proposed jump goes toward larger row numbers and lands at row 6, column 1, removing the opposing piece it crosses. Each step changes the row and column by one, so the route stays on the same colour of square. Read the two diagonal steps separately. The first reaches the occupied opposing square; the second reaches the required empty landing. Moving onto the occupied square is not the jump described by this model.
Countercheck: the stated landing is row 6, column 1. Imagine that square were occupied before the jump. The illustrated capture would no longer have the required empty destination. Now imagine removing the crossed opponent instead: that would also remove this particular jump. These changes show why the start, crossed piece and landing are three separate conditions.
6. Diagonal exercise 6: identify the landing
Use an eight-by-eight coordinate sketch. A ordinary man moving toward larger row numbers starts at row 3, column 4. An opposing piece occupies row 4, column 3. The square at row 5, column 2 is empty. No other local piece blocks the two-step diagonal.
The proposed jump goes toward larger row numbers and lands at row 5, column 2, removing the opposing piece it crosses. Each step changes the row and column by one, so the route stays on the same colour of square. Read the two diagonal steps separately. The first reaches the occupied opposing square; the second reaches the required empty landing. Moving onto the occupied square is not the jump described by this model.
Countercheck: the stated landing is row 5, column 2. Imagine that square were occupied before the jump. The illustrated capture would no longer have the required empty destination. Now imagine removing the crossed opponent instead: that would also remove this particular jump. These changes show why the start, crossed piece and landing are three separate conditions.
7. Diagonal exercise 7: identify the landing
Use an eight-by-eight coordinate sketch. A ordinary man moving toward larger row numbers starts at row 5, column 6. An opposing piece occupies row 6, column 7. The square at row 7, column 8 is empty. No other local piece blocks the two-step diagonal.
The proposed jump goes toward larger row numbers and lands at row 7, column 8, removing the opposing piece it crosses. Each step changes the row and column by one, so the route stays on the same colour of square. Read the two diagonal steps separately. The first reaches the occupied opposing square; the second reaches the required empty landing. Moving onto the occupied square is not the jump described by this model.
Countercheck: the stated landing is row 7, column 8. Imagine that square were occupied before the jump. The illustrated capture would no longer have the required empty destination. Now imagine removing the crossed opponent instead: that would also remove this particular jump. These changes show why the start, crossed piece and landing are three separate conditions.
8. Diagonal exercise 8: identify the landing
Use an eight-by-eight coordinate sketch. A ordinary man moving toward larger row numbers starts at row 3, column 6. An opposing piece occupies row 4, column 7. The square at row 5, column 8 is empty. No other local piece blocks the two-step diagonal.
The proposed jump goes toward larger row numbers and lands at row 5, column 8, removing the opposing piece it crosses. Each step changes the row and column by one, so the route stays on the same colour of square. Read the two diagonal steps separately. The first reaches the occupied opposing square; the second reaches the required empty landing. Moving onto the occupied square is not the jump described by this model.
Countercheck: the stated landing is row 5, column 8. Imagine that square were occupied before the jump. The illustrated capture would no longer have the required empty destination. Now imagine removing the crossed opponent instead: that would also remove this particular jump. These changes show why the start, crossed piece and landing are three separate conditions.
9. Diagonal exercise 9: identify the landing
Use an eight-by-eight coordinate sketch. A ordinary man moving toward larger row numbers starts at row 4, column 3. An opposing piece occupies row 5, column 4. The square at row 6, column 5 is empty. No other local piece blocks the two-step diagonal.
The proposed jump goes toward larger row numbers and lands at row 6, column 5, removing the opposing piece it crosses. Each step changes the row and column by one, so the route stays on the same colour of square. Read the two diagonal steps separately. The first reaches the occupied opposing square; the second reaches the required empty landing. Moving onto the occupied square is not the jump described by this model.
Countercheck: the stated landing is row 6, column 5. Imagine that square were occupied before the jump. The illustrated capture would no longer have the required empty destination. Now imagine removing the crossed opponent instead: that would also remove this particular jump. These changes show why the start, crossed piece and landing are three separate conditions.
Use the guide in your next session
Use the examples to describe a move from its start, through the captured square, to the landing. This makes a multi-step plan easier to explain and catches several common coordinate errors.
Begin with one observation connected to checkers beginner guide. After checking an example, close the answer and reconstruct the reasoning in your own words. If a step is uncertain, return to that step rather than repeating a result you cannot explain. A small, specific correction provides a clearer next aim than trying to improve every part of a game at once.
Frequently asked questions
Which checkers rules do the exercises assume?
They use an eight-by-eight local model with forward-moving ordinary men and short-range kings. Variant differences must be checked before live play.
Does an adjacent opponent always allow a jump?
The required landing beyond the opponent must be empty, and the move must satisfy the rules and other constraints of the full position.
Does a local capture prove that an exchange is good?
No. A reply, a promotion route or another available capture can change the evaluation.
More cool math games guides
- Checkers Capture Planning: Check the Landing and the Reply
- Checkers Kings: Practise Backward Diagonal Captures
- Open the relevant game or guide page
Sources and scope
This is an independent, AI-assisted editorial guide. The worked examples and diagrams are original teaching material, not official game screenshots or a claim of personal live-game testing. Game interfaces can change; check the current instructions when controls or rules differ.